Showing posts with label Technique: Watercolor Pencils. Show all posts

Thursday, April 20, 2017

Product Spotlight Blog Hop: Watercolor Dragonfly Dreams!

hey friends!

Thanks for stopping by for this week's Product Spotlight Blog Hop. You may have clicked over from Robbie's blog (if not - click through the hop until you get to her!).  Today we're featuring the Dragonfly Dreams bundle, which - yay! - is carrying over into next year's Annual Catalog. Today I decided I would pair it with the Silver Foil Sheets embossed with the Hexagons Dynamic Textured Impressions Embossing Folder. If you don't already own this embossing folder, open a new window, go to the SU website and add it to your cart, then come back. You need it. It is a must-have, just like paper, ink and stamps!!


Isn't it crazy?! That was just plain silver foil cardstock. The Hexagons embossing folder changes it so much!!

To make the watercolor wash background, I used watercolor paper with the Watercolor Pencils - in Pacific Point, Bermuda Bay, Old Olive, and Daffodil Delight. Then I used the Clear Wink of Stella Glitter Pen to blend the colors. You'll be happy to hear that the clear pen is not being discontinued - but the gold one is! So go back to that other window you have open with the hexagon embossing folder and quickly add the gold Wink of Stella, then come back. Good.

You might be looking at the stamp set and wondering where the sentiment came from. I took a black Stampin' Write marker and just colored the "Thanks" portion of the stamp, and stamped it in the corner. That's my supersneaky trick for making cards say whatever I want.

That Pacific Point Designer Paper is from the Party Animal Designer Series Paper, and the ribbon is from the Succulent Garden Ribbon Combo Pack. And of course, the dragonflies are from the awesome Detailed Dragonfly Thinlits.

Thanks for stopping by! Now go see Joni (and the rest of the blog hoppers) and then submit your order for that fabulous embossing folder and gold Wink of Stella. And maybe you'll want to add a few things of your own accord :) Don't forget to drop me a comment to let me know you stopped by. Thanks, and have a wonderful day!

Bye!

Jenilee

Here's what I used to make my card today. Click on any of the images to go straight to my online store where you can shop (but only if you're in Canada)! 

Tuesday, March 7, 2017

Watercolor Pencil Technique #5 - Vellum Honeybees!!

Did you know that the watercolor pencils even work on vellum?!? I know, right?! So cute!


I can't even. They're just so stinkin' cute!

I used a blender pen to blend the colors on this card. It's tough to tell in this photo, but the hive is stamped on Shimmery White, too. It's so cute in person!

The stamp set that I used for this card - Shooting Star - features images that can be diecut with the Sliding Star Framelits dies and used to make super adorable slider cards! The wood-mount bundle is $61 - which, if you purchase it before the end of March, would qualify you for a free Sale-a-Bration product. Score! You could get some of that awesome glimmer paper!

What is your favorite Watercolor Pencil Technique?

Jenilee

Here's what I used to make this card - shop at my online store and you can make it from home!


Watercolor Pencil Techniques Part 4: Love Sparkles!

This is a favorite card of mine, for sure. First of all - it employs a watercolor wash background - one of my all-time favorite looks. Secondly... the watercolor was is done on our Shimmery White cardstock, which just gives it a beautifully subtle shimmer. You probably can't see it in the photo here, but in person it's quite pretty!


To create the watercolor wash, simply color strips with the watercolor pencils and use an Aqua Painter to blend them. It's simple and so fun! The more water you use, the more blended the final product will be. I like to use quite a bit of water and then just set it aside for a while to dry before stamping the sentiment. 

The sentiment here is from the Love Sparkles stamp set which is in the Occasions catalog. This is the same set that I used to make Natasha's valentines this year! I love this set. :)

I have another Sale-a-Bration bundle for you today!

143183  $26.00   Love Sparkles (Clear-mount) 
141709  $21.00   Watercolor Pencils
101910  $10.00   Shimmery White Cardstock
142786   $ 8.50   Urban Underground Embellishments
TOTAL: $65.50 - Qualifies you for a FREE Sale-a-bration item! wahoo!

Have a great Tuesday!

Jenilee

Here's what I used to make today's card:


Monday, March 6, 2017

Watercolor Pencil Techniques: Part 3 - with Flower Shop

Hello stampers! It is Monday, and I am ok with that because *fingers crossed* I'm finally starting to feel better. I have had a rough couple of months with sickness, and am hopefully near the end of strep throat this round. Thank you for being so patient with me!!


Today, I'm sharing with you another card that we made at the Watercolor Pencils Technique Class. Again, the card is simple because the purpose of the class was to focus on the techniques rather than the embellishments!!

This card is stamped using the Flower Shop stamp set in Melon Mambo Classic Ink on Whisper White cardstock (regular, not the thick stuff). I then took the Melon Mambo Watercolor Pencil and scribbled over the flowers, and then sprayed them with water so that the colors would bleed a little. This way, you still get the definition of the stamp but you get some added color from the pencils.

The Happy Birthday stamp is from the Big On Birthdays set - one of my favorites from the Occasions catalog!!

Thanks for stopping by today! Remember that when you spend $60 this month, you get to choose a free product from our Sale-a-bration offerings. Yay! That's a $15 - $25 value right there!! I'd love to help you with your order, or you can order online from home and have your order shipped directly to you. Do you have a lot of items on your list? Consider purchasing the starter kit instead for $135 (no shipping, no tax) and choose up to $165 in product to put in your kit - any product! yay! Not only is the kit itself a fantastic deal, you're then able to get a minimum of 20% off on any further orders you place. Totally worth it, in my opinion!

Enjoy your week!

Jenilee

Here's what I used to make this card today:


Wednesday, March 1, 2017

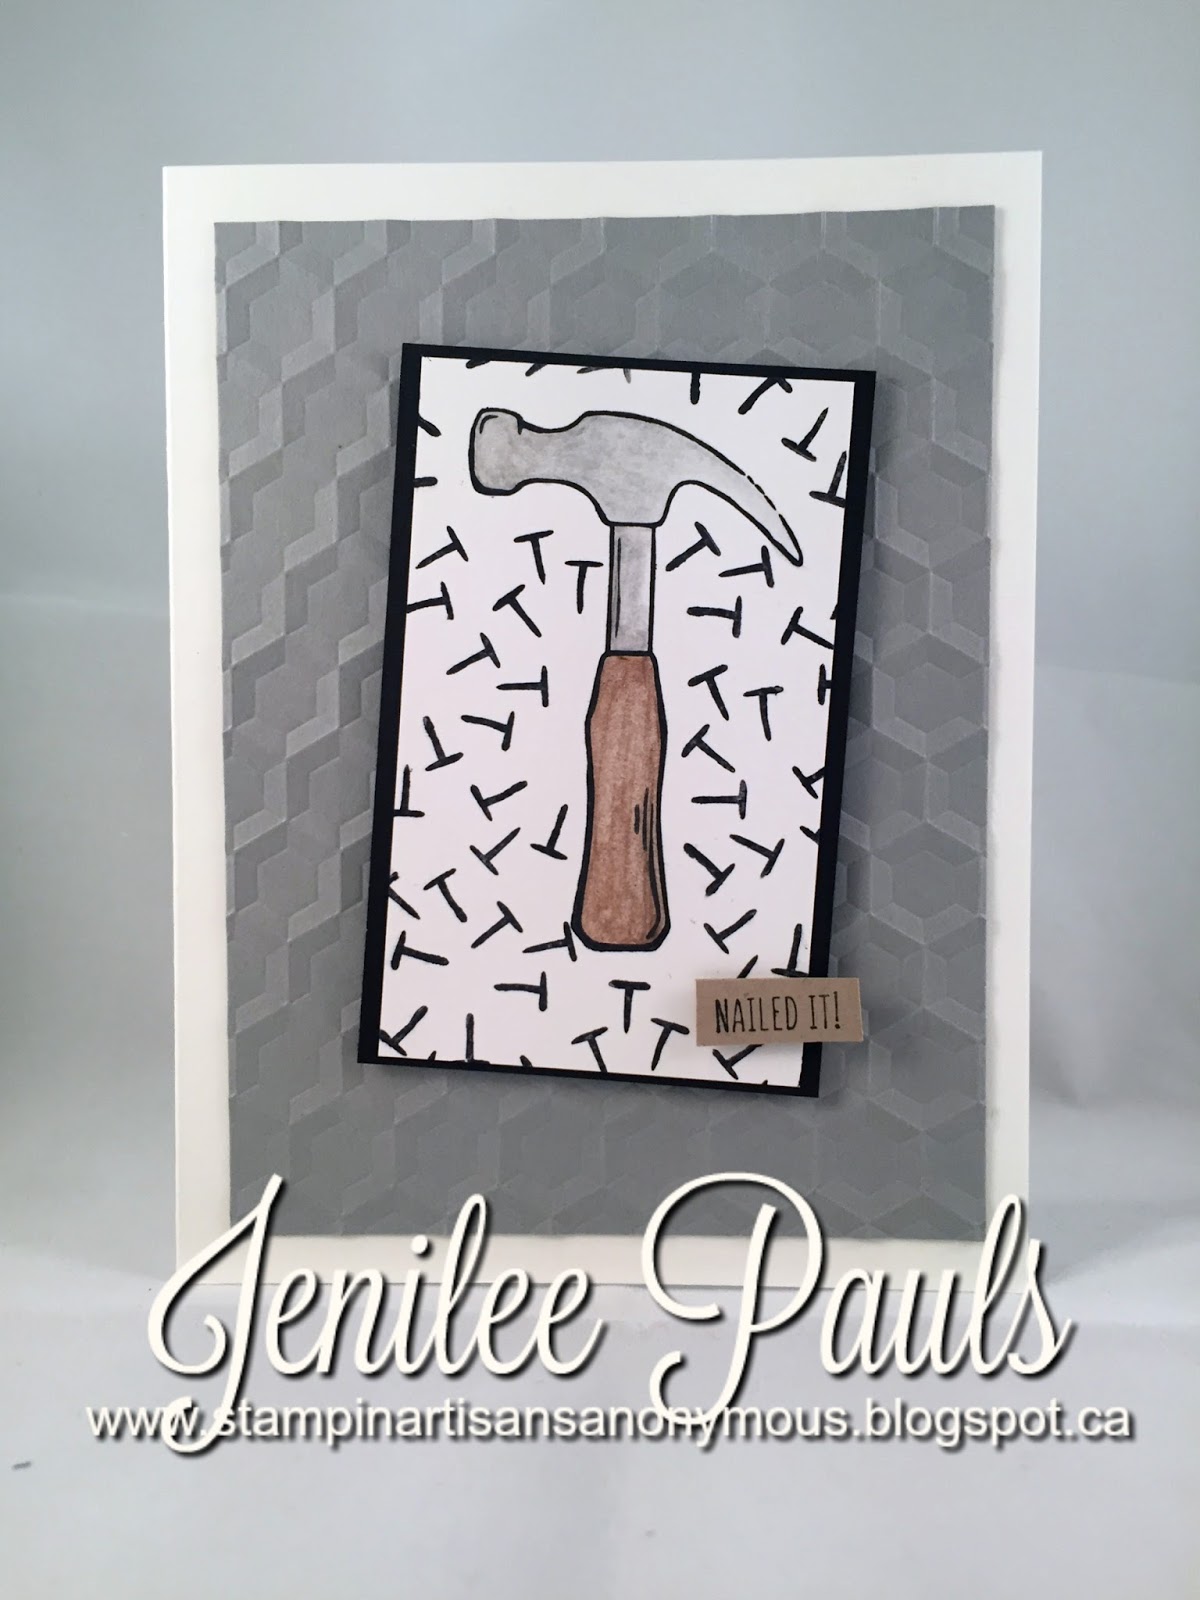
Nailed It! - A Manly Card


 I love this set. There are just so many fun things that you can do with it! We made this card at my Watercolor Pencil Technique Class last week - and had a good time thinking up ways that we could use this set. It would even be awesome with the Labeler Alphabet stamp set - you could come up with all kinds of puns to use with this tool-themed set!! Which reminds me. I've been meaning to order that Labeler Alphabet stamp set for ages. I'm putting in an order tonight, and I feel like having a special! Order a Labeler Alphabet stamp set from me today, and I'll throw in a Clear Block A as my gift to you!


Of course, if you order the Nailed It stamp set as a bundle with the framelits.... you'll qualify for a free sale-a-bration item (see yesterday's post)! Today is a good day to put an order in!

Jenilee


Friday, February 24, 2017

Watercolor Pencils Class!

I had a Watercolor Pencils Technique Class on Tuesday evening - and I wanted to show you one of the cards we made that day! I wanted to show at the class how the pencils can be used with a variety of papers and coloring mediums. This one *might* be my favorite :)


It would be SO easy to make a whack of these. You could change up the colors super easily, too. To make this card, I used watercolor paper and colored 4 sections with 4 different watercolor pencils, making the sections overlap into one another (Delightful Daffodil went into Pumpkin Pie which went into Calypso Coral which overlapped into Melon Mambo). Then, I used my Clear Wink of Stella pen to blend the colors - just like you would with an Aqua Painter or Blender Pen. Now tell me that's not awesome!! No, don' tell me. Because it is. And another thing - the only color on this card comes from the watercolor pencils. So it would be soooo easy to change up this card by using a different stamp set or set of colors. It's like a blank canvas! You could do anything with it!!

I set it aside for a few minutes and then assembled it when it was dry. When I went back to make some other color combinations, I wasn't so patient and I dried them with my heat tool. That works too. I stamped the sentiment from the Big on Birthdays stamp set (p. 6 in the Occasions Catalog). Don't you just love large sentiments on a watercolored background?! I sure do! And there ya go! A super easy, super beautiful card, done!

Thanks for stopping by; happy stamping!

Jenilee